
Main menu
You are here
Running models : Working with visualisation tools : Table
Data table helper
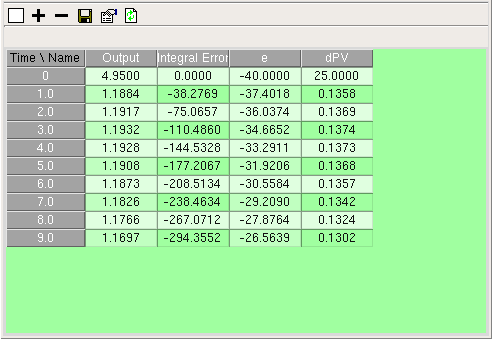
The data table helper is a tool for tabulating the results of a simulation run. You can use it if you want to inspect the simulation results in more detail than you can on a graph, or if you want to export the results, as a data file in comma-separated value (CSV) format, to data presentation or analysis software, e.g. Microsoft Excel.
You can specify as many model variables as you want. Any of the variables can be nested in multiple-instance submodels to any depth, in which case each instance of the submodel will be allocated one column. The leftmost column displays the times at which the values were recorded. Columns can be removed, if desired, after the simulation has completed. The precision (number of decimal places) to which the numbers are displayed can be increased or decreased before each run of the simulation.
Note that for very large arrays of values this tool can run quite slowly, because it is oriented towards interactive display. It can be improved by turning off updating at every display time (this option is available in the properties dialogue). If you want to save very large data sets, or time series from long runs, it may be quicker to use the snapshot tool.
 Clearing the display
To remove all the tabulated data, click on the![]() button. This preserves the column headings, but removes all the rows of data except those corresponding to the current time.
button. This preserves the column headings, but removes all the rows of data except those corresponding to the current time.
Choosing elements to tabulate
The elements to be tabulated are selected as column headings. The procedure for choosing elements is as follows:
-
to add an element, click on the
 button. An instruction is posted, to click on the element to be tabulated. The element can be chosen from the model diagram or from the model explorer.
-
to remove an element, click on the
 button. An instruction is posted, to click on the column headings to be removed. The first click indicates the start of the range of columns to be removed, the second click indicates the end of the range. If the same column is selected twice, only that column is removed.
 Saving table data
To save the data displayed in the helper, click on the Save button. The table will be saved in .csv format with the headers and values arranged as they currently appear in the display. Where headers are spread over more than one column, empty fields will be added to the saved table so that subsequent headers in the same row still line up with the correct data columns.
 Arranging the layout
The layout of the table is controlled using the Table properties dialogue box. Clicking on the Properties ![]() button will bring up a dialogue box with two tabs. These tabs provide options to change the table layout, and to alther the way in which values are displayed.
button will bring up a dialogue box with two tabs. These tabs provide options to change the table layout, and to alther the way in which values are displayed.
Adjusting table layout:
This allows the user to designate which dimensions of the data to use as row and column headings. For example, time can be used as either a row or column heading, and element names and element indices can be used similarly. This tab also includes the option to show current values only as an alternative to showing values for all time points with the relevant time as a row or column heading.
Adjusting value display format
This tab, titled "Variable formats", provides several options for adjusting the way in which values are displayed in the table. The pulldown menu at the top allows you to specify which values the changes made here should apply to; the default is "All" but you can choose to re-format the values of only one particular variable in the table by selecting its caption here.
The leftmost listbox allows you to select the type of value which is being displayed. As opposed to pure numeric values, you may choose to display them as angles (d °m ' s ") with conversion from radians if appropriate, or dates/times with conversion from Julian days. Boolean is provided in case your data uses numerical values to represent true/false states, but if the value is actually boolean in the model, this will be selected by default.
The next listbox allows you to select from a variety of formats for each value type, most importantly between General and Scientific (exponential) for numeric values. The right frame allows the number of decimal places displayed to be adjusted via a spinbox, and provides an option to highlight negative values by displaying them in red as in accounting ledgers.
Logging data over time
Normally, the table helper shows data from the model at any time point corresponding to start of a display interval. By selecting "current values only" from the layout tab, the helper can be made to display only the values for the start of the current display interval. No time heading or time values will appear. In this mode you can unselect "update at display intervals" on the same tab, which results in the data not being updated at all except when the ![]() update button is clicked. When a time axis is displayed, the data is still logged even when it is not updated in the table, so clicking the update button will result in all the values since it was last clicked being displayed.
update button is clicked. When a time axis is displayed, the data is still logged even when it is not updated in the table, so clicking the update button will result in all the values since it was last clicked being displayed.
In: Contents >> Running models >> Working with helpers
- Printer-friendly version
- Log in or register to post comments